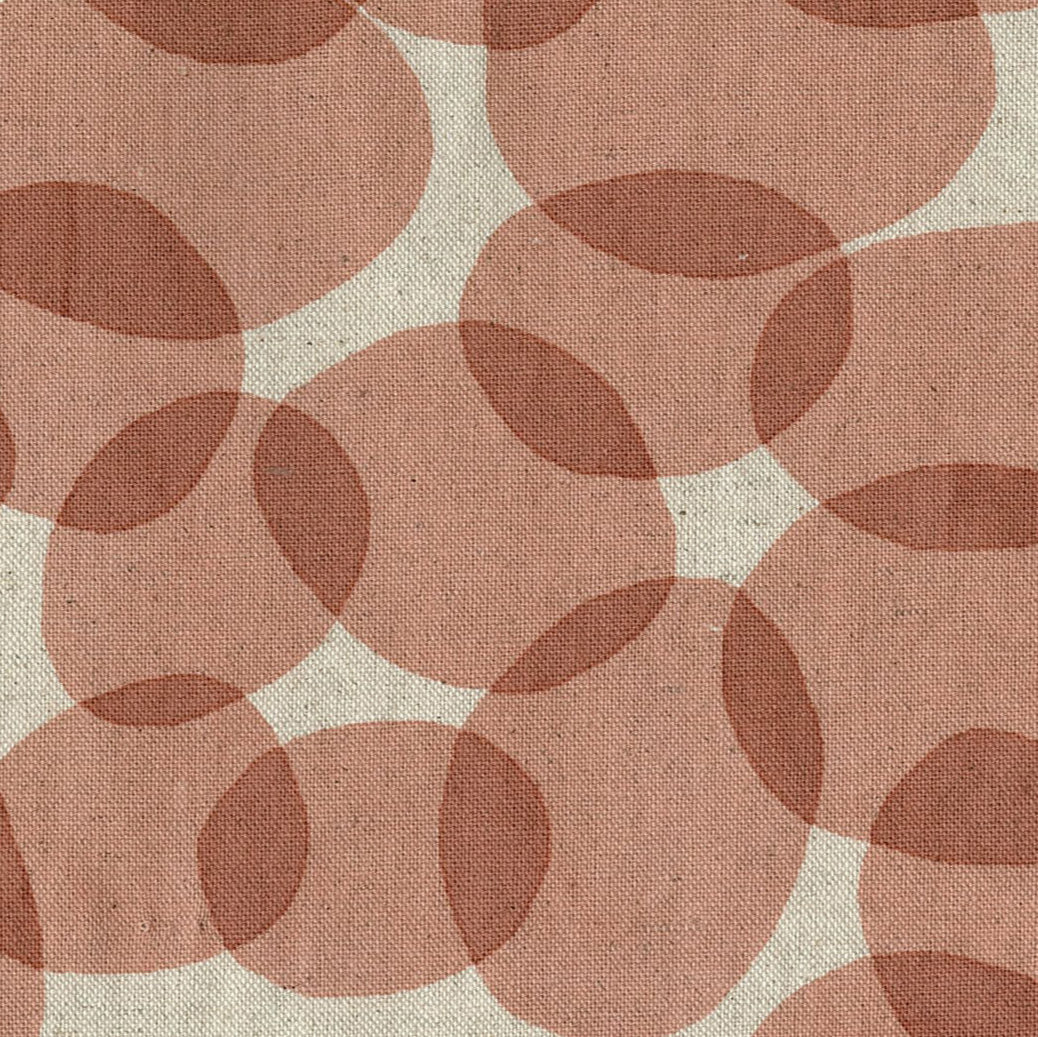


Many of you who have visited the shop have asked about the little "pet" slugs that sit on the finial by my ironing board. The original was a gift from my Grandma and was purchased in London around 1970 and I think the fabric is an original Laura Ashley block print. I made a prototype reproduction slug from Merchant & Mills Wes linen. After a little tweaking (and a slug photo session), I'm happy to present my tutorial...

First assemble the following supplies:
- Pattern (click to add the free PDF for download to your cart)
- Temporary marker such as Frixion pen, chalk or Hera marker.
- Small piece of fabric about 8" square. I chose a very simple print, with high contrast thread for illustration.
- Matching thread
- Small embroidery hoop
- Contrasting embroidery floss or perle cotton
- Crushed walnut shells or rice for "stuffing"
- Paper funnel (made from small piece of paper + tape) for filling
- A point turner is helpful
- Pins, needles and scissors


First, trace pattern and lines for embroidery using temporary marker such as Frixion pen or chalk marker. Place fabric in hoop and then embroider along lines using backstitch or chain stitch (I used backstitch with #8 pearl cotton).

Remove fabric from hoop, and cut out slug shape. Turn down 1/4" along top (head) edge and iron. Fold in half lengthwise and stitch along curved (back) edge using matching thread and 1/4" seam allowance (this can be done either by machine or by hand with small stitches).


Turn right side out (a "pokey pokey thing", otherwise known as a point turner is handy here. Next hand sew a row of stitches along the back seam between the first and fourth rows or embroidery, gather these stitches tightly and backstitch to hold gathers in place. This allows the slug to hold his head up.


Next fill your slug with crushed walnut shells, rice or lentils. You want to use a heavy filling, not cotton or other fluff. I made a little paper funnel to help with this. You want to fill your slug till he's very full.

Pin the head end together tucking matching folded edges and then sew the slug closed using ladder stitch in matching thread. Sew tiny buttons or bead onto each corner of the head for eyes. I like to use contrasting thread for this step as it adds expression. Finally, embroider on a tiny smile and say "Hi" to your new friend.

Now he needs a friend!....


