
Here she is in her newly made True Bias Nikko Top made up in yummy organic cotton interlock from Birch (both availablein the shop), as well as her tried-and-true Persephone pants (pattern from Anna Allen Clothing). Kenzie has made 19 pairs of Persephone pants, tweaking the fit each time, so she now has them just the way she wants them to fit. We don’t carry this PDF pattern yet, but we’d be happy to print it for you with our in-house AO printer. We also have a Sun Bleached denim in the shop which would give a very similar look. Special thanks to Zachary for taking these photos during a lull in the action at the shop last week.

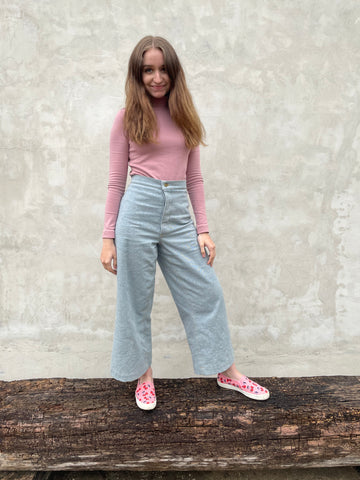
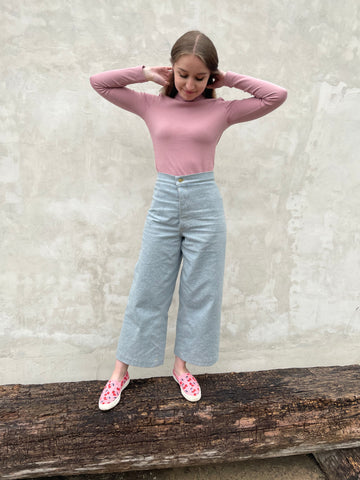
Here's Kenzie on her recent trip to California. She made so many great garments for her trip. Here's a highlight, The Merchant & Mills Sidney Sweatshirt (we have Paper or PDFD versions of this pattern) in Merchant & Mills soft stitch jacquard in palest pink. She's also wearing Sew House Seven Free Range Slacks made up in Merchant and Mills EU Linen in neon pink "Andy" colorway. This pattern is a real favorite with many of our customers, many one whom have made multiple pairs of these pants. The Andy linen is currently unavailable, but we are expecting a roll of this linen in "Acid House" which is a deeper neon pink tending toward fuchsia.


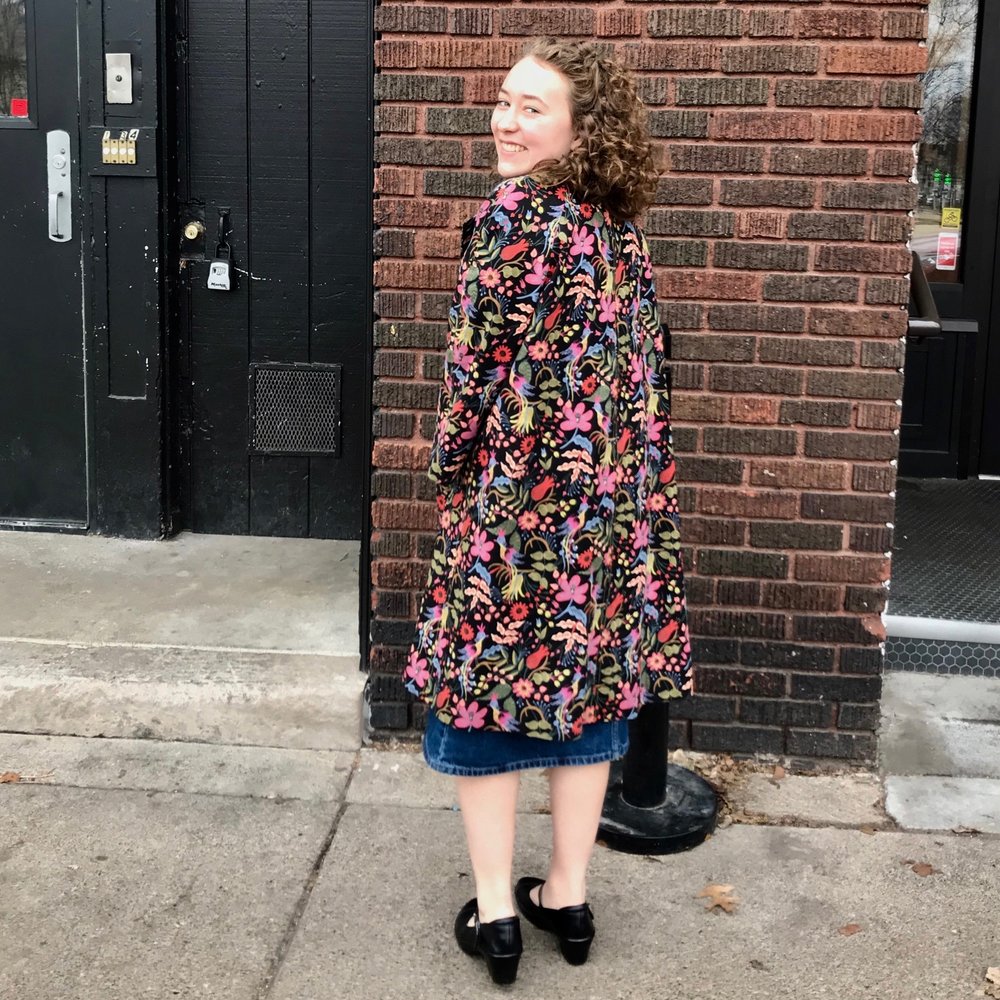
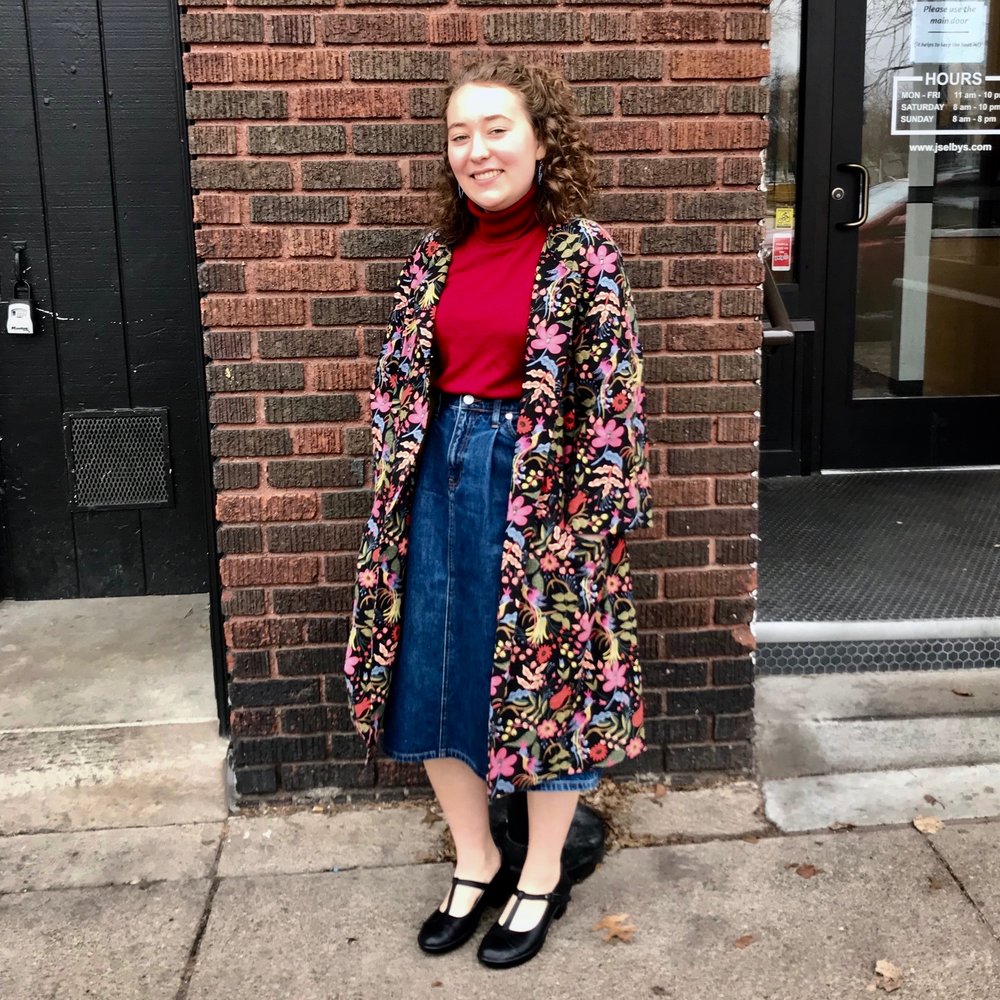
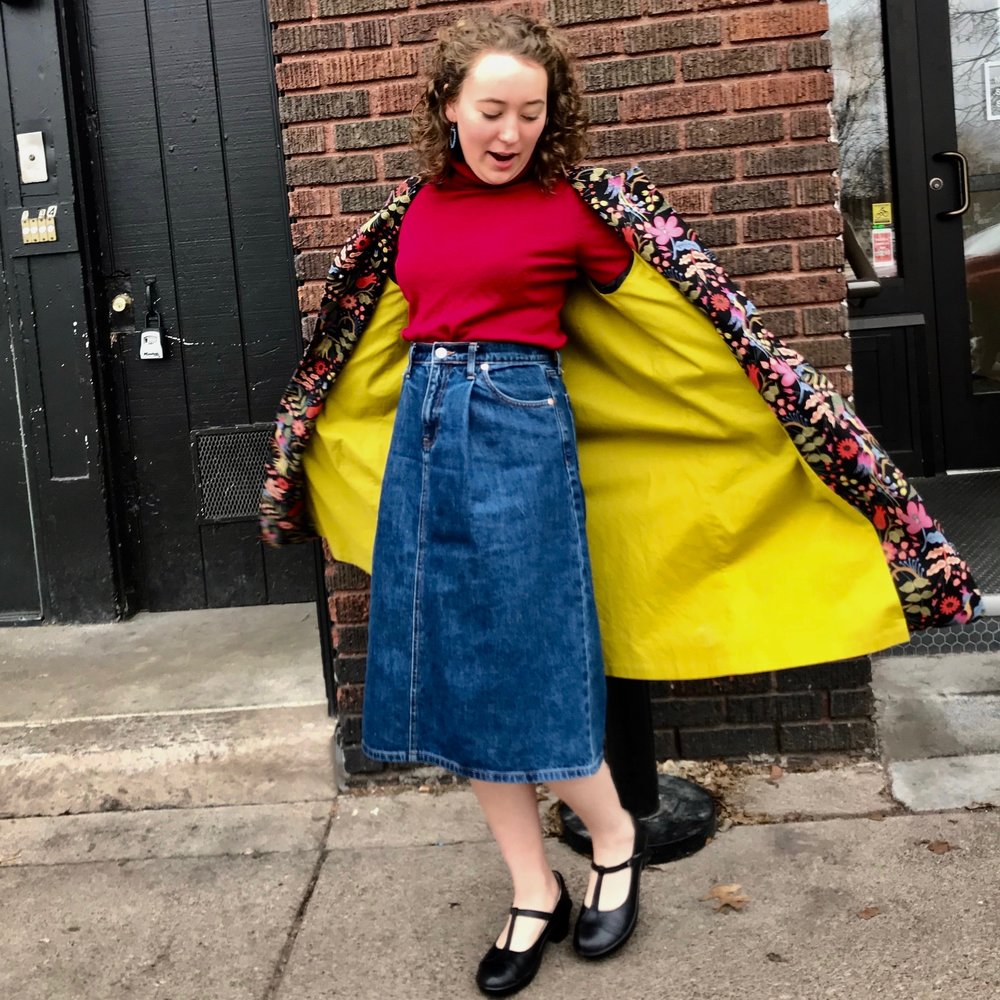
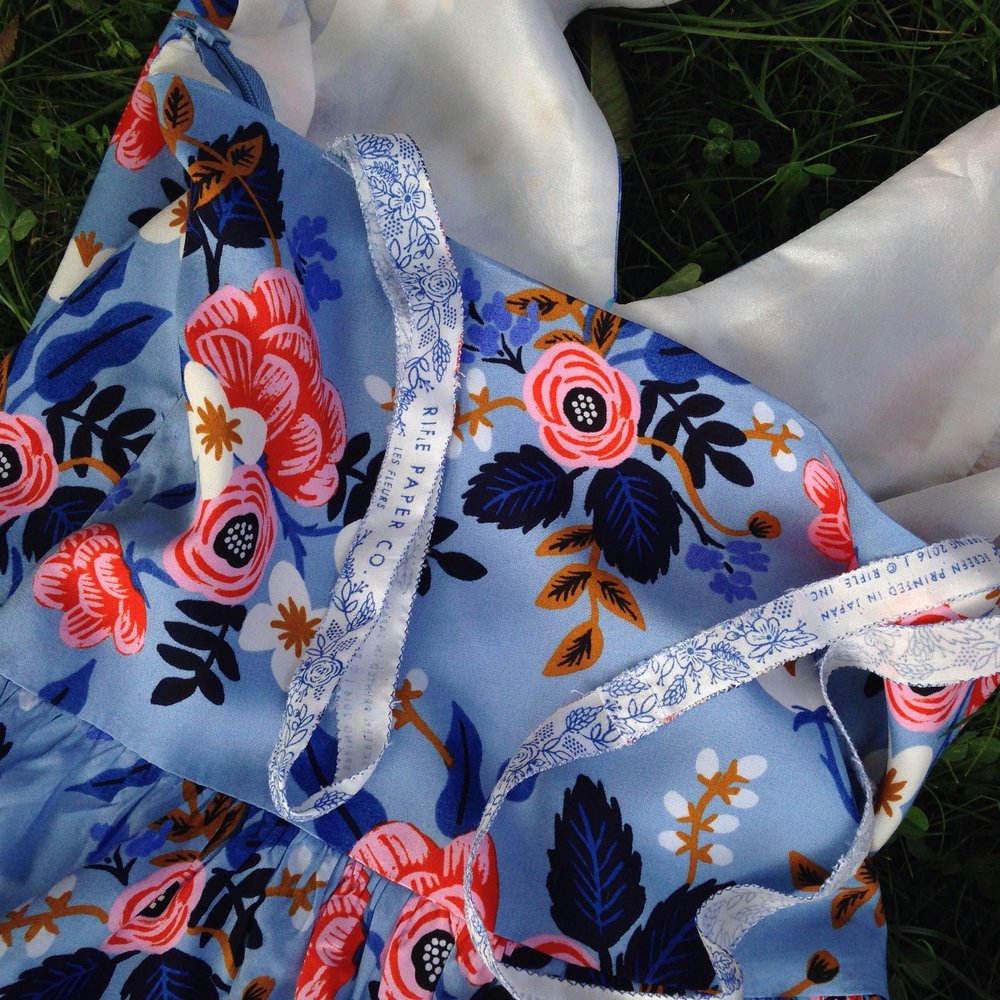
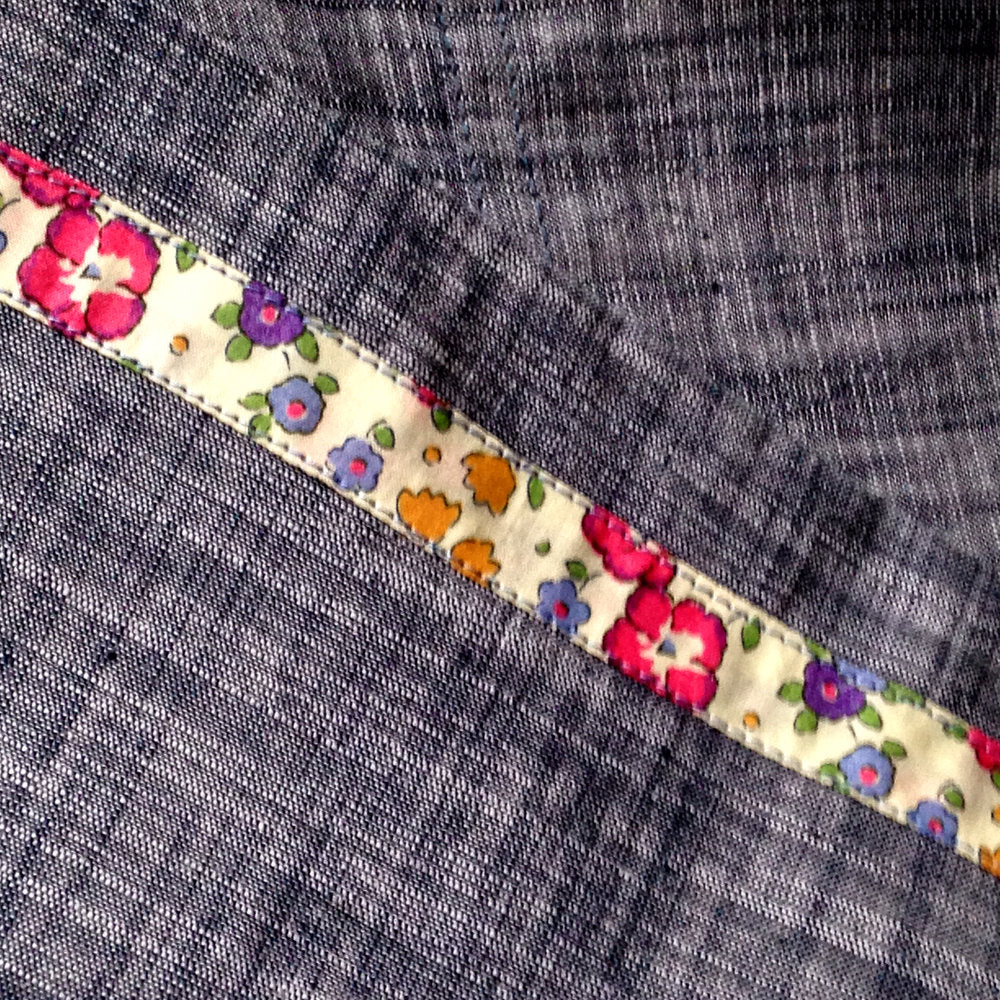
The combination of the morning light, winter angle of the sun and the white oak holding on to last years leaves made a shadow over our iconic bench that I’d never seen before on this day in early Spring. Here, Kenzie is wearing her cozy Grodin coat. This pattern, which we have in paper and PDF format, is by Minneapolis based designer, Kathryn Sterner for her clothing line, Winsome Goods. Kenzie made her Grodin in our Merchant & Mills jacquard in natural (We also have this fabric in many other colorways). She bound the inside seams are bound the Liberty Tana Lawn, a technique called Hong Kong finish. Such a beautiful make! You can also see another example of her perfectly perfected Persephone pants pattern from Anna Allen designs. This is such a lovely coat and she's already had a lot of wear out of it. ( As a side note, while we like the aliteration of "perfectly perfected," we like to emphasize learning and improvement rather than striving for "perfection" in our sewing)

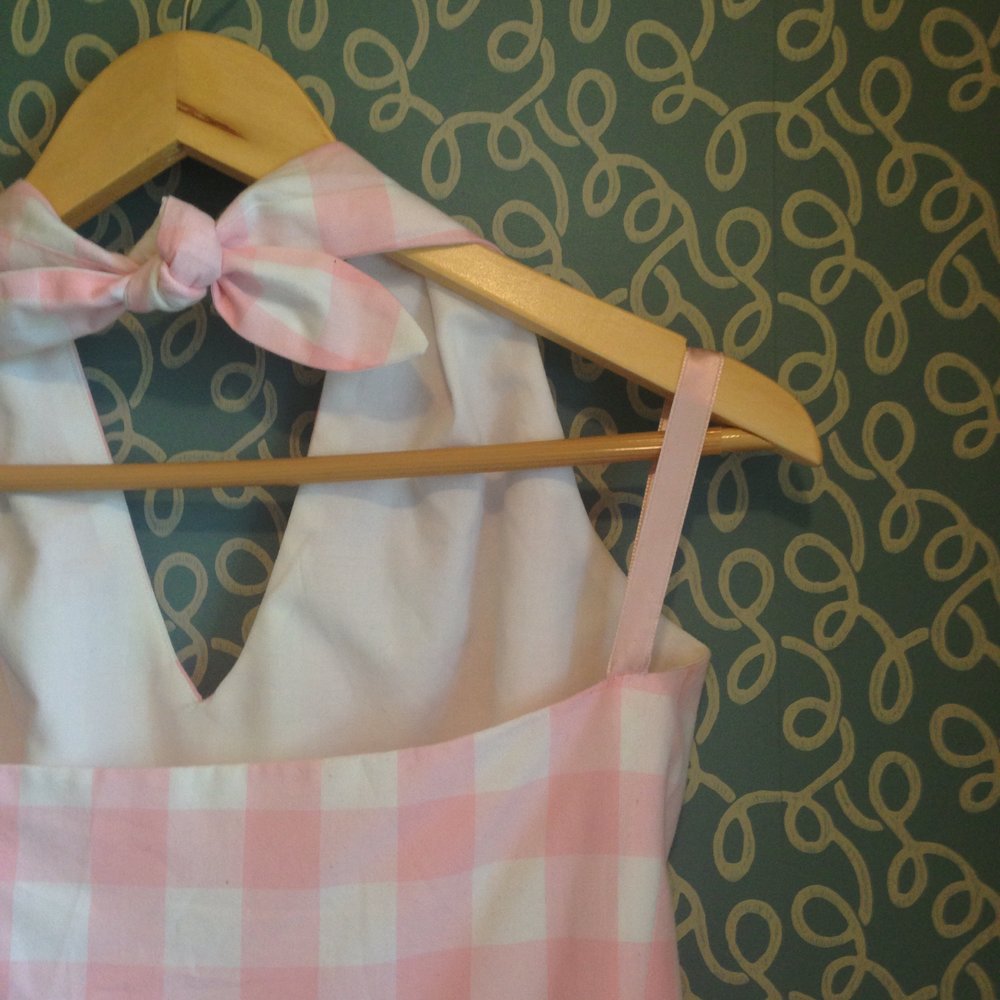
Here's Kenzie's Lola Top (pattern also from Winsome Goods). She made it up in pink Nani Iro double gauze. She modified it by adding elastic at the waist. Kenzie has worked hard to perfect the fit of these garments and it shows. As always, she has the fit spot on. Way to go Kenzie!


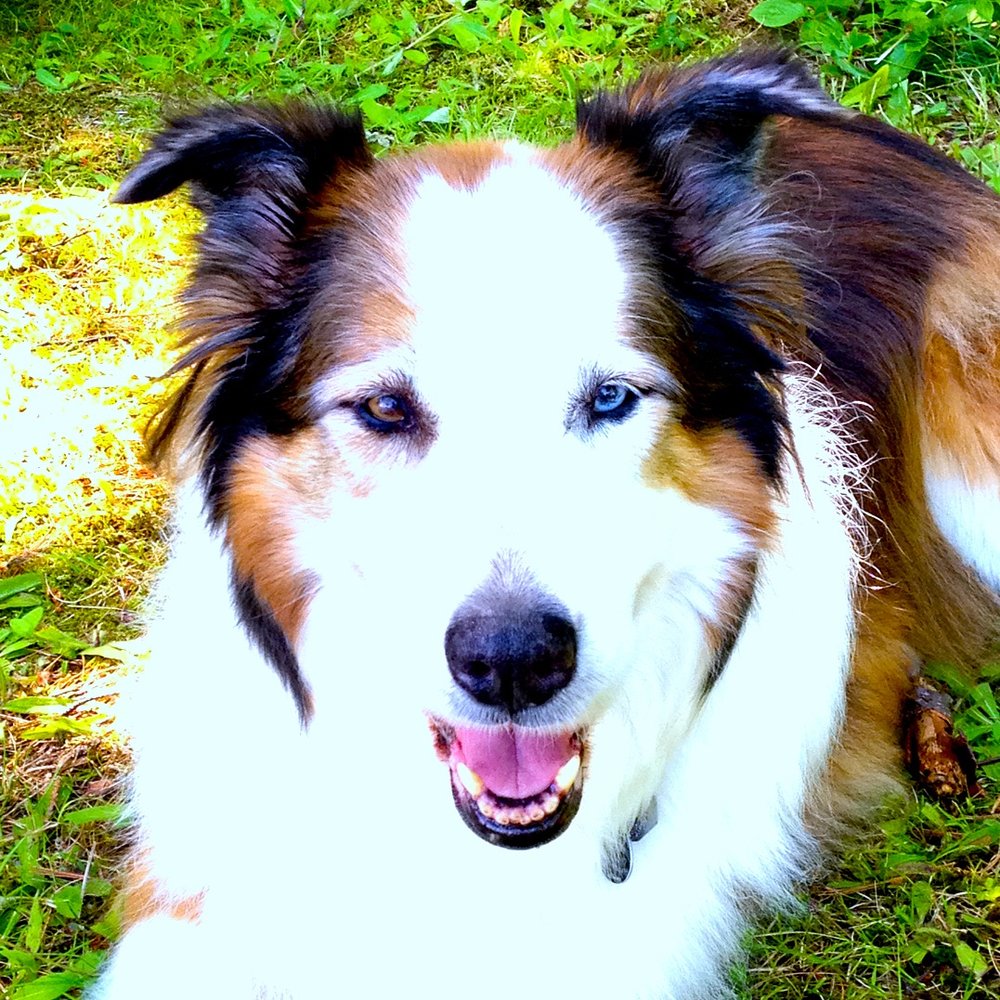
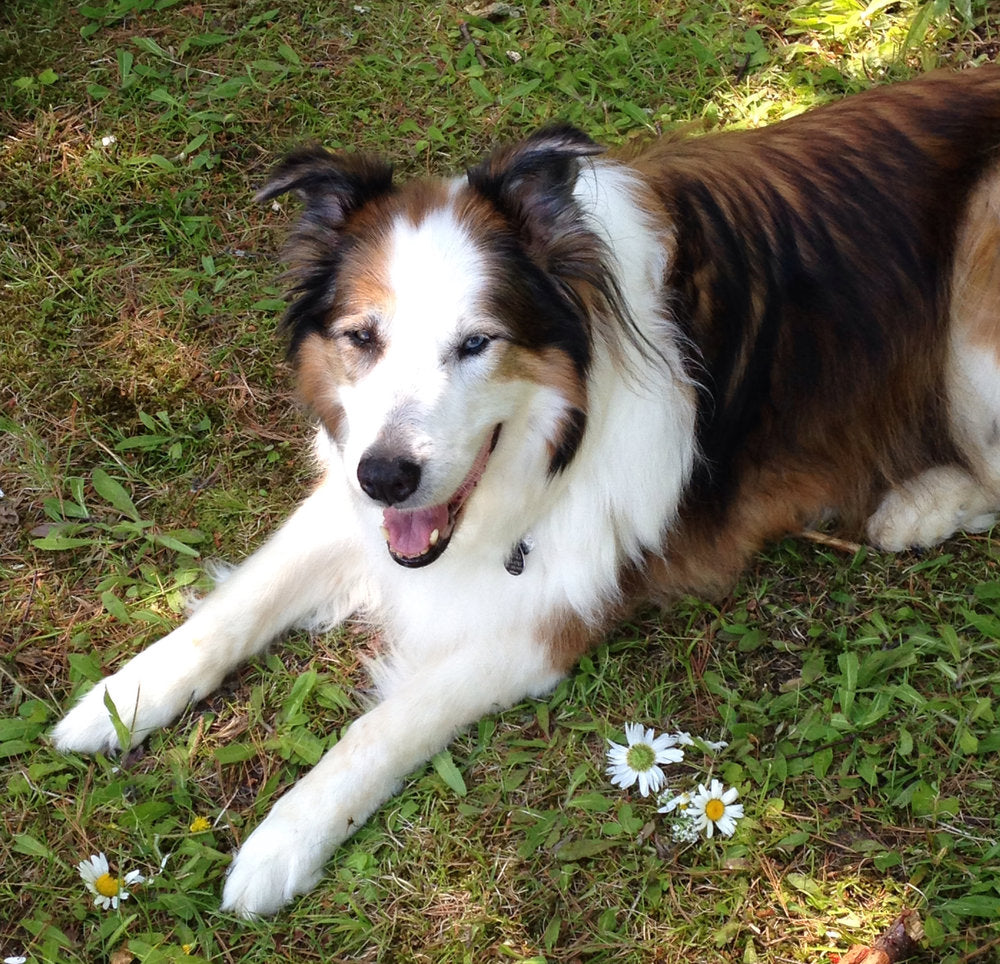
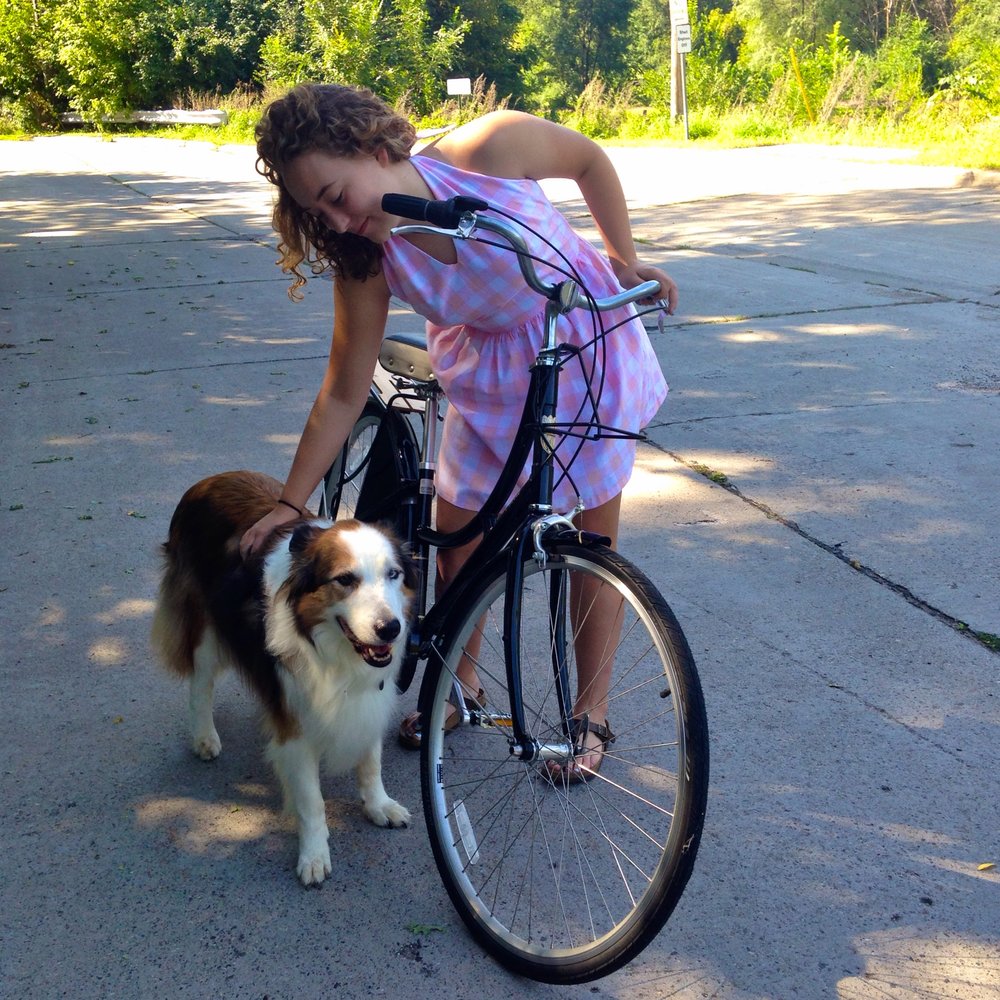
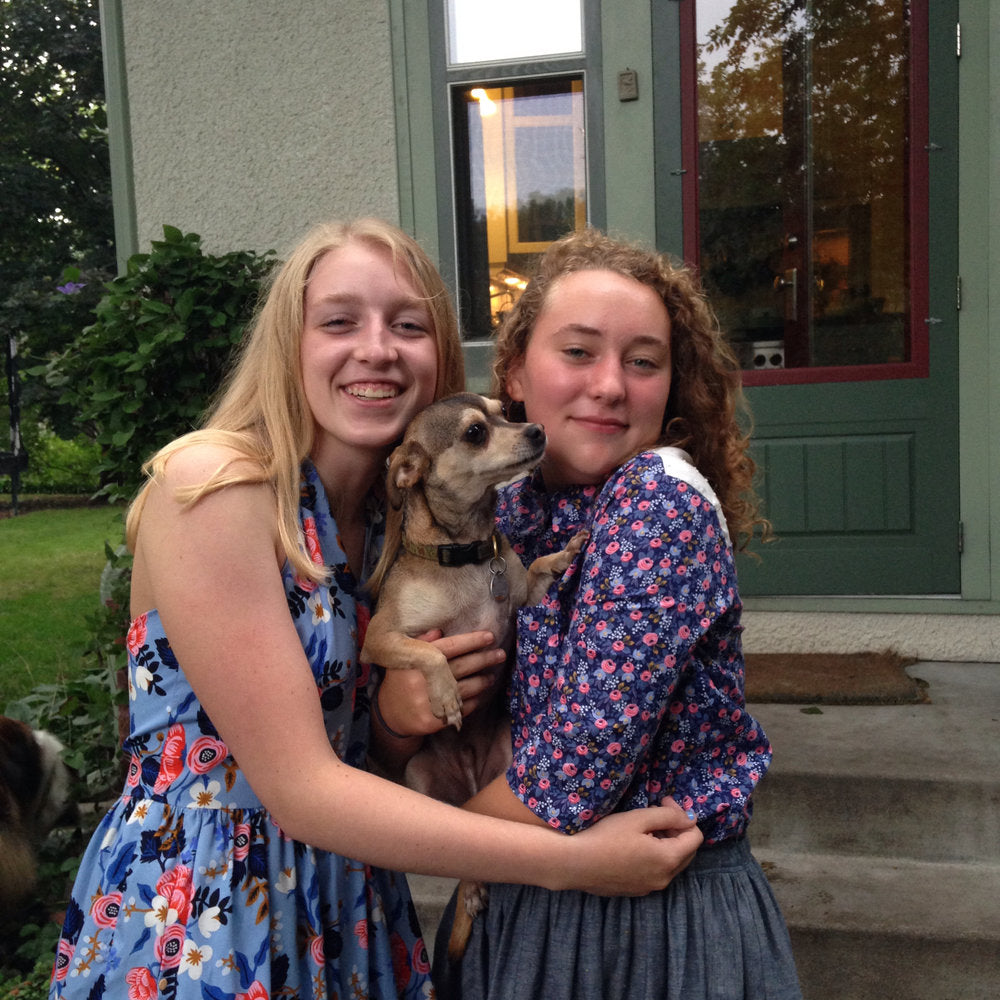
Some things you might not know about Kenzie: She used to be afraid of dogs but is now devoted to (a sews for) her little dog Charlotte. Her favorite color in pink. (well, we expect you had already figured that out). She loves playing mini-golf at Big Stone Mini Golf in Minnetrista.
Follow Kenzie's sewing adventures over on Instagram @kenziesews, where her motto is "Minnesota maker making makes. Mental health matters🧠 Recovering from an ED, sewing clothes to honor my body❤️" We think that says it all.
]]>


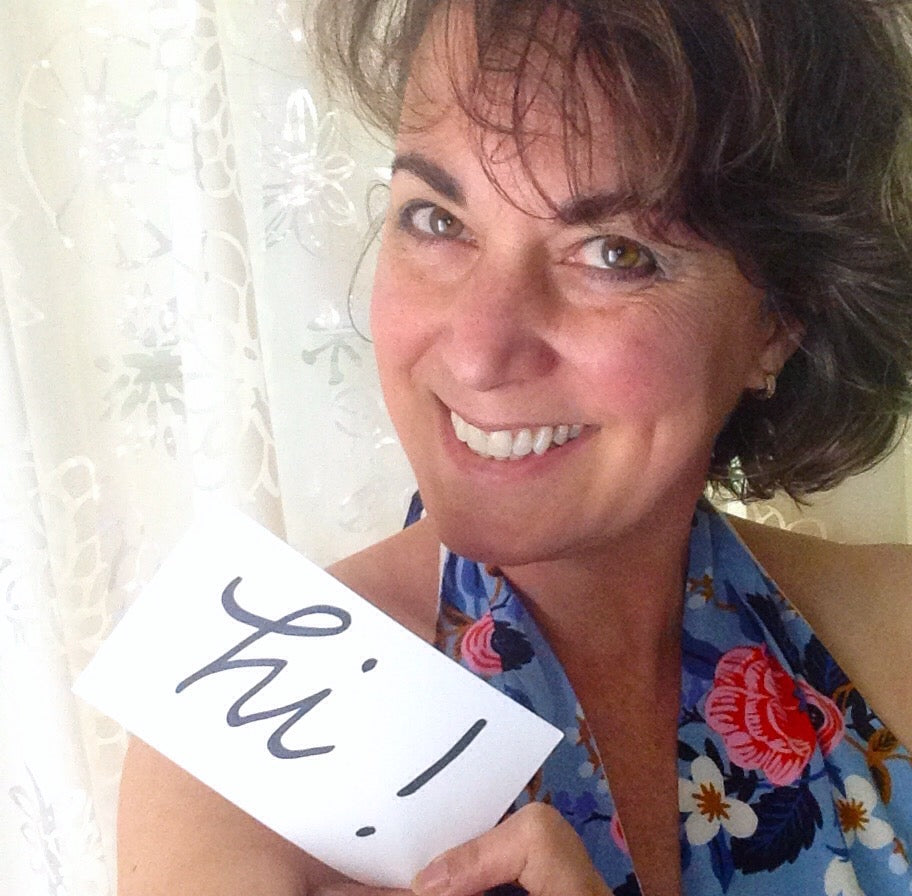 Hi. I'm Sarah. Welcome to the very first installment of my blog. I'm glad you're here! It might be just you and me today (though my kids might visit later). You can say you were here at the beginning. I'm starting a new chapter of my life. I've made some plans and have a lot of ideas to share. I am an introvert and have a habit of needing things to be "perfect" before I put them out there. But, as we all know, perfection isn't really real. I've been meaning to get this started for the longest time, and because today is as good a day as any, allow me introduce myself.